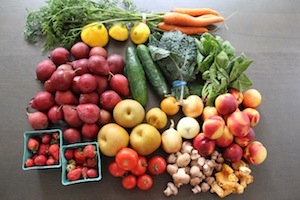
I just love receiving my weekly box with fresh, organic, gorgeous goodies… I feel like a child unwrapping presents at Christmas!
Wow — this time around I got so many pears!!! Not a difficult dilemma: I will just make… Classic pear jam.
There is nothing like homemade jam – with its fragrant, intense, aromatic smell filling the air when opening a jar, and its naturally full-bodied fruit taste – it has nothing in common with ordinary store-bought jellies.
A good jam immediately brightens your morning breakfast, and in between two slices of bread, makes a delectable, healthy, quick lunchbox snack for the kids.
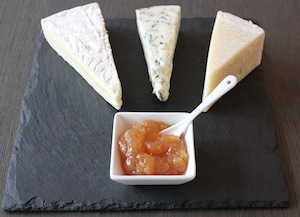
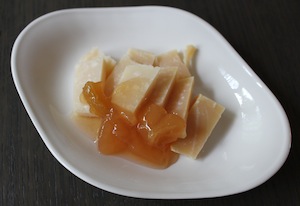
But there is a reason why everyone in my family craves pear jam in particular: cheese!!! Being avid cheese eaters, it is like a staple at my house.
A classic Italian proverb says, “Al contadino non far sapere quant’e’ buono il formaggio con le pere…” or “don’t let the farmer know how good cheese is paired with pears…” In other words, if he had any idea how delicious the pairing is, he would never give either to you!
This is a culinary truth that goes along with many fancy cheese tray selections around the peninsula and yes, this is totally true for pear jam, too!
To make jam, the recipe is quite simple, and this procedure is also valid for peaches, apricots, plums and any kind of berry.
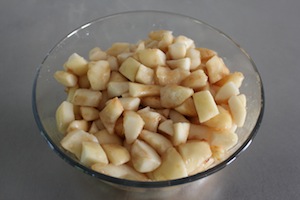
The ingredients include just fresh, cleaned, diced fruit and sugar.
The proportion I like is: for each weight of fruit, half the weight of sugar. For example, 1 lb. of fruit, 1/2 lb. of sugar.
The cooking time varies depending on your pan size, and the amount of ingredients you use.
In my case, I used about 2 lb. of pears, and 1 lb. of sugar. Yield was about two and a half 8oz.-jars.
The cooking time was about 1:30 hrs. using a 10-inch-wide skillet. However, using a 12-inch skillet and the same amount of fruit/sugar, the cooking time was cut to an hour.
Just a few more general suggestions:
– Use a large skillet to allow faster evaporation, reducing the cooking time. I like non-stick pans because it’s more difficult to burn (I am a distracted cook). A larger pan will yield pear jam with chunks, rather than a more “creamy” consistency, and one with more flavor in it!
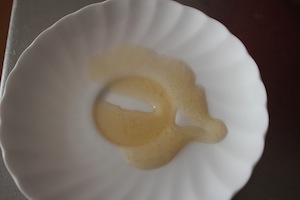
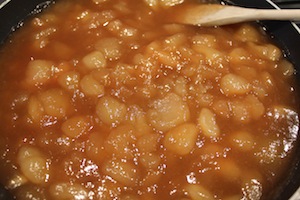
– Be careful not to “overcook.” Jam will keep thickening while cooling, so turn off the stove right before the jam still looks the way you like it. I like my pear jam kind of syrupy, but if you like yours more firm but not overcooked, use the saucer trick: place a saucer in the freezer for a few minutes until it gets really cold. Drop a scant teaspoonful of jam on the saucer and run a finger through it. If it leaves a clean line in the jam, it’s ready. Otherwise keep cooking for another few minutes, until the trick works. In my case, since I like it still liquidy, the trick works only partially (see photo below).
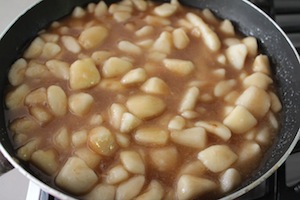
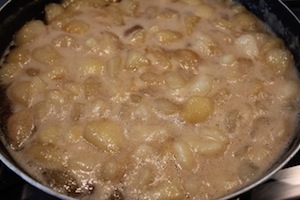
Here is how to proceed:
Or store in jars, and enjoy the jam for months to come!
Storing in jars is simpler than you think. Use the glass type with self-sealing lids. Sterilize the still-empty jars by washing in the dishwasher for a full cycle.
Fill the jam into hot, sterile jars, leaving ¼-inch headspace. Close with self-sealing lids.
For this jam recipe, and jars of 8 oz., you can choose two different methods to tightly seal:
1- Boiling: Submerge the jars, lids up, in a pot filled with tap water. The level of the water should be a couple of inches higher than the top of the jars. To protect the jars from breakage, you can use a couple of kitchen towels to wrap around the jars (when the water will hard boil, the jars will move in the pot and can bump against the sides of the pot or against each other). Bring the water to a full rolling boil and boil for 5 minutes. (Correct the boiling time at higher elevation by adding 1 additional minute per 1,000 ft. above sea level). Let the jars cool in the water and remove them by holding the glass, not the lid.
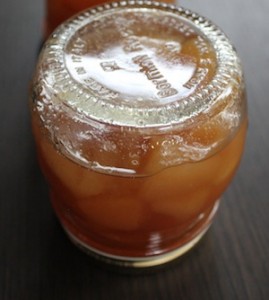
2- Hot potting: this is my favorite method and the simplest one. For this system, you will need to use a specific brand of jars, the Italian Bormioli Rocco (available online or in selected stores). Use previously cleaned jars (a full cycle in the dishwasher). Preheat the jars: turn them upside down on a clean plate and run hot tap water on top. This way, the inside stays dry (the water doesn’t need to be boiling hot, just warm to hot, to shrink the temperature difference between the glass and the hot content you are going to pour in). Dry the outside using a clean kitchen towel. Turn off the jam and immediately pour into the jars. Immediately seal with the caps, and turn the jars upside down. Be careful not to scorch yourself, so use a towel to handle. Leave the jars upside down at room temperature, placing them in a non-cold surface (avoid metal, marble etc.) until they cool completely (it will take at least 15 minutes for the lids to vacuum-seal). You can re-use Bormioli jars, but to properly vacuum seal, remember to use brand new lids every time.
Store the jars in a cool, dark place (a pantry). Avoid placing them on top of each other. Before opening, make sure the vacuum is still there: the lid should be slightly concave, and while opening you will hear a sharp sound created by the lifting of the lid.
Properly stored, the jam will last for at least a couple of years.
Buon appetito!!!
Links:
– Bormioli Rocco’s website and canning tips
– Ball’s website and canning tips

